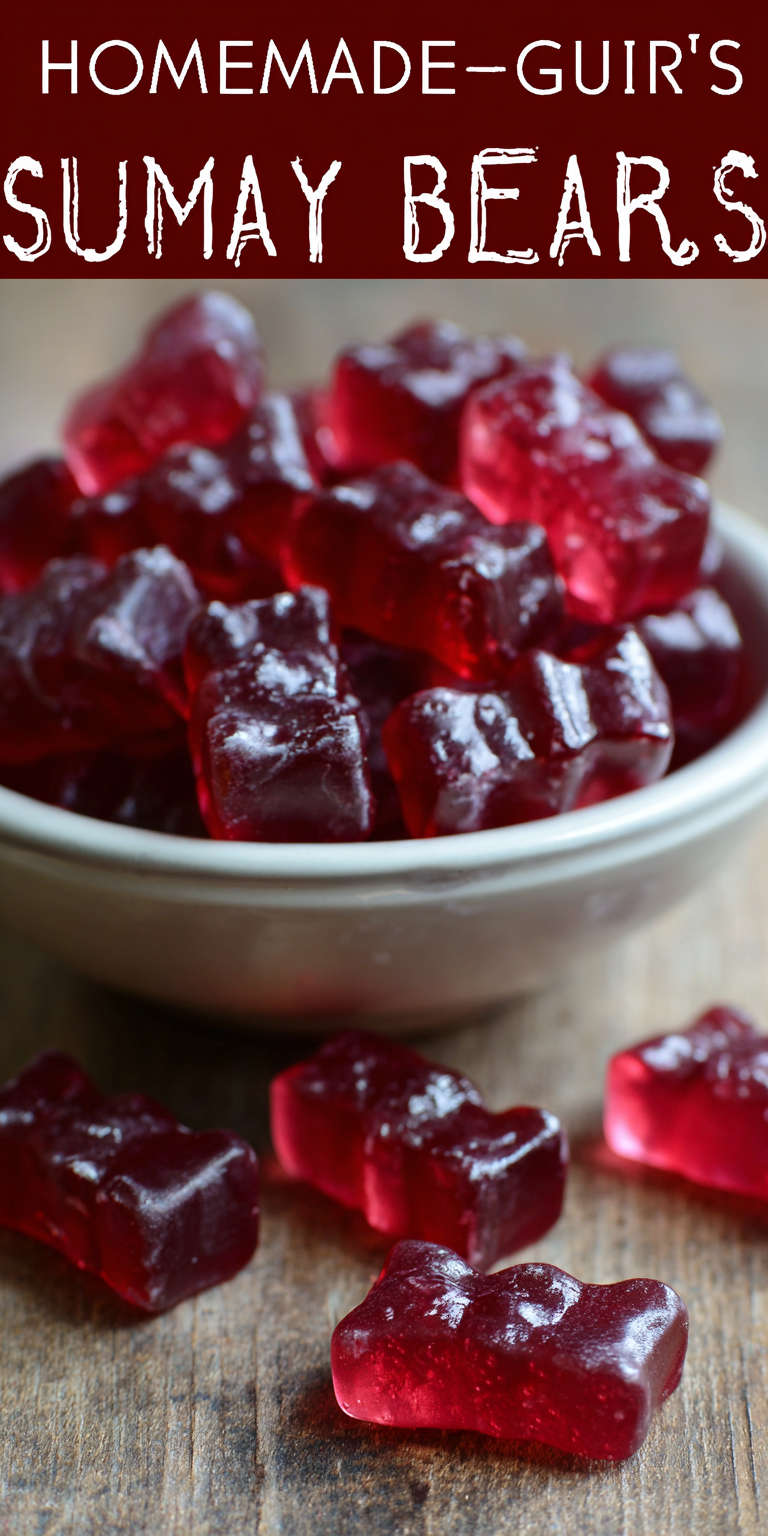
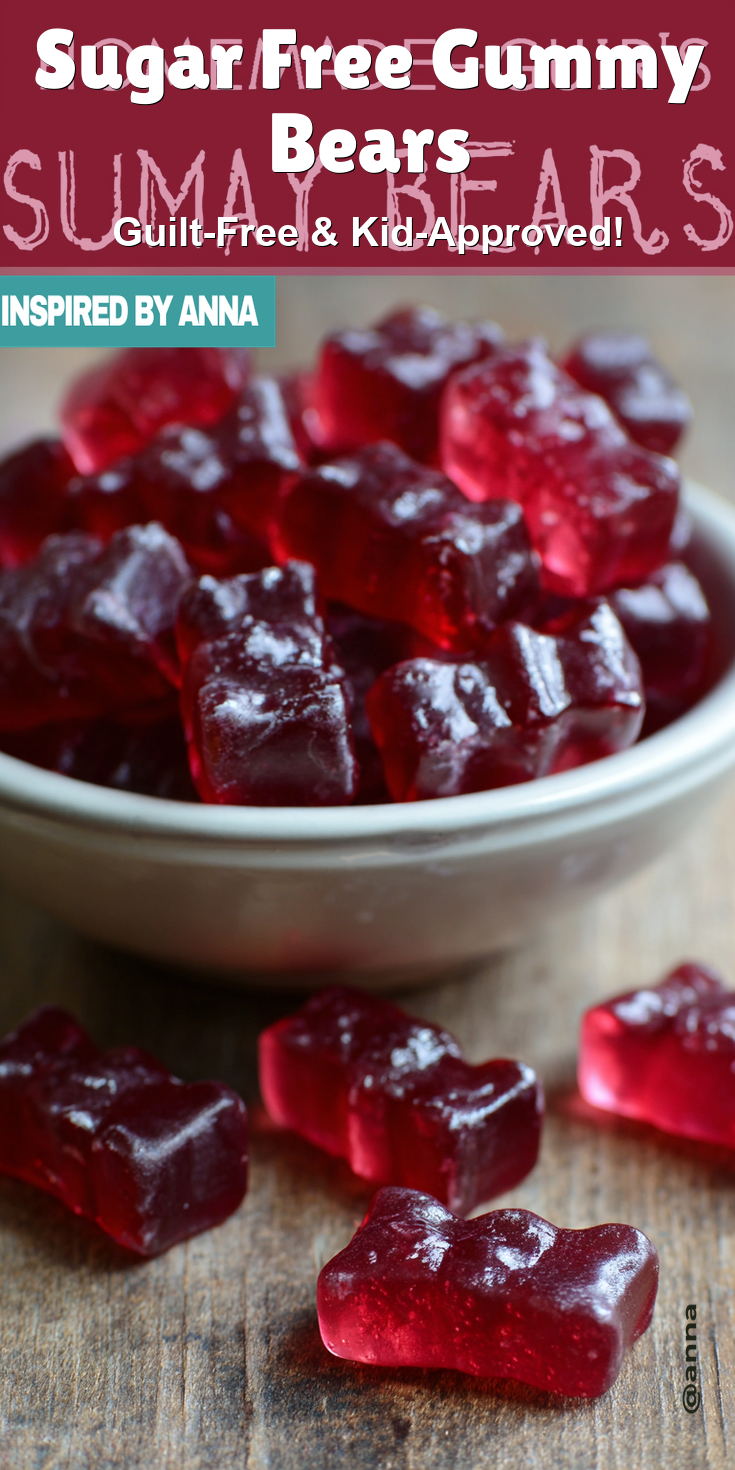
Let’s be real for a second. How many times have you stood in the snack aisle, squinting at labels, trying to find a treat that won’t send your kids bouncing off the walls? I’ve been there more times than I can count. The struggle between a fun, chewy candy and a sugar crash is so, so real. That’s why I started making our own Sugar Free Gummy Bears at home. I know, it sounds fancy, but I promise it’s one of the easiest kitchen projects you’ll ever do. And the best part? You control exactly what goes in them. No mystery ingredients, no artificial colors, just simple, good stuff your kids will actually recognize. It’s a win for everyone. If you’re looking for another fantastic sugar-free snack, you have to try this Sugar-Free Cinnamon Air Fryer Banana Chips Recipe.
Recipe Overview
- Cuisine: Fun Food
- Category: Snack / Treat
- Prep Time: 10 minutes
- Cook Time: 5 minutes
- Total Time: 2 hours 15 minutes (includes setting)
- Servings: Makes about 100 small gummy bears
Why Even My Picky Eaters Love This!
My kids are the first to turn their noses up at anything “healthy-looking.” But these? They see them as pure magic. The secret is in the shape and the texture. Using a fun gummy bear mold instantly makes this a treat, not a “mom experiment.” They get that perfect, satisfying chew from the gelatin, and the flavor comes straight from the fruit juice they already love. It’s a sneaky parent hack that feels like a total victory.
Our Family-Friendly Ingredient List
This is where you can breathe a sigh of relief. You probably have most of this in your pantry right now. We’re keeping it super simple and focused on real flavors.
- 1 cup of 100% fruit juice (like apple, orange, or berry blend)
- 4 tablespoons (about 4 packets) of unflavored gelatin powder
- 2-3 tablespoons of honey or pure maple syrup (optional, for a touch of sweetness)
- 1 tablespoon lemon juice (brightens the flavor!)
- Gummy bear molds (silicone ones are easiest to pop them out of)
How to Get the Kids Involved in Cooking This
This recipe is a fantastic first cooking project. My little ones love feeling like kitchen scientists. It’s safe, fast, and the reward is immediate (well, after a little patience!).
Their favorite job is definitely picking the juice flavor and using the dropper to fill the molds. It’s great for fine motor skills and they feel so proud of their creations. Just keep the hot liquid part for yourself, of course. For another kid-friendly project that uses your air fryer, check out our simple recipe for Sugar-Free Cinnamon Air Fryer Banana Chips.
The Full Step-by-Step Instructions
Don’t let the word “candy” scare you. This process is straightforward and almost foolproof. I’ll walk you through every single step.
- Pour your 1 cup of fruit juice into a small saucepan. Sprinkle the gelatin powder evenly over the top. Do not stir yet! Let it sit for 5 minutes. This “blooming” step is key for a smooth texture.
- After 5 minutes, the gelatin will look wrinkly and have absorbed the juice. Now, turn the stove to low heat.
- Gently warm the mixture, stirring constantly with a whisk or fork, for about 3-5 minutes. You want the gelatin to dissolve completely and the liquid to become clear. Do not let it boil.
- Remove the pan from the heat. Stir in the lemon juice and your optional sweetener if you’re using it.
- Let the mixture cool for about 5-10 minutes. This is important so it’s not too hot for little hands or the dropper.
- Using a small spoon or a kitchen dropper, carefully fill each cavity of your gummy bear molds. Place the filled tray on a flat surface in the refrigerator.
- Let the gummies set for at least 2 hours, or until they are firm to the touch.
- Pop them out of the molds and enjoy! Store any leftovers (if there are any!) in an airtight container in the fridge.
Fun Twists for Different Tastes
This basic recipe is your blank canvas. Once you’ve mastered it, you can get really creative based on what your family likes.
For a vitamin boost, try mixing in a splash of liquid kids’ vitamins instead of lemon juice. For a creamy version, use half juice and half coconut milk. You can even use different shaped molds—hearts, dinosaurs, stars—to match the season or a birthday theme. The possibilities are endless!
Storing & Reheating (Perfect for Busy Nights)
Okay, you don’t reheat gummy bears! But storing them is simple. These are best kept in the refrigerator in a sealed container. They’ll stay perfect and chewy for about a week.
You can also freeze them for up to a month for a cool, frosty treat. They thaw quickly, making them a great last-minute addition to a lunchbox.
Sugar Free Gummy Bears Recipe
Our Family-Friendly Ingredient List
The Full Step-by-Step Instructions
Notes
Enjoy your homemade Sugar Free Gummy Bears Recipe!
Nutrition Notes
While these are a treat, it feels good knowing what’s inside. Here’s a simple breakdown of what you’re getting compared to store-bought gummy candy.
- No refined sugars (if you skip the optional sweetener).
- Protein from the gelatin, which is great for skin and joints.
- Natural vitamins from the real fruit juice.
- No artificial colors, flavors, or preservatives.
FREQUENTLY ASKED QUESTIONS
Can I use a sugar-free juice?
Absolutely! That’s a great way to make them completely sugar-free. Just make sure it’s a juice you and your kids enjoy drinking, as the flavor will be front and center.
My mixture got lumpy! What did I do wrong?
This usually happens if the heat was too high or you stirred before letting the gelatin bloom. Don’t worry! You can often save it by straining the warm liquid through a fine mesh sieve into your dropper or measuring cup before pouring it into the molds.
Are these okay for toddlers?
Because of the chewy texture, I’d recommend these for kids who are confident chewers, usually over age 3 or 4. Always supervise little ones with any chewy snack. For younger toddlers, you can use the same mixture in an ice cube tray for a softer, easier-to-gum texture.
I really hope this recipe brings a little fun and a lot of peace of mind to your kitchen. Seeing my kids ask for “our special bears” instead of the store-bought stuff is a feeling that never gets old. It’s a small thing, but it makes a big difference. If your family loves a sweet, crunchy snack, you’ll adore these Crispy Air Fryer Cinnamon Sugar Banana Chips: A Perfect Sweet Snack!
Give it a try this weekend! I’d love to know if this was a hit with your family! Please leave a comment and rating below!