Have you ever wanted to serve something that makes your guests pause and say, “You made this?” I know that feeling. The desire to impress without the stress is real.
That’s exactly why I’m sharing my secret weapon: Keto Garlic Breadsticks. They are the perfect party trick. This recipe looks so fancy, but I promise it’s incredibly easy. You get all the warm, garlicky comfort without any of the carb-heavy guilt. If you love this flavor combo, you should also try my Keto Garlic Butter Shrimp Packets with Zucchini Noodles for another simple, crowd-pleasing meal.
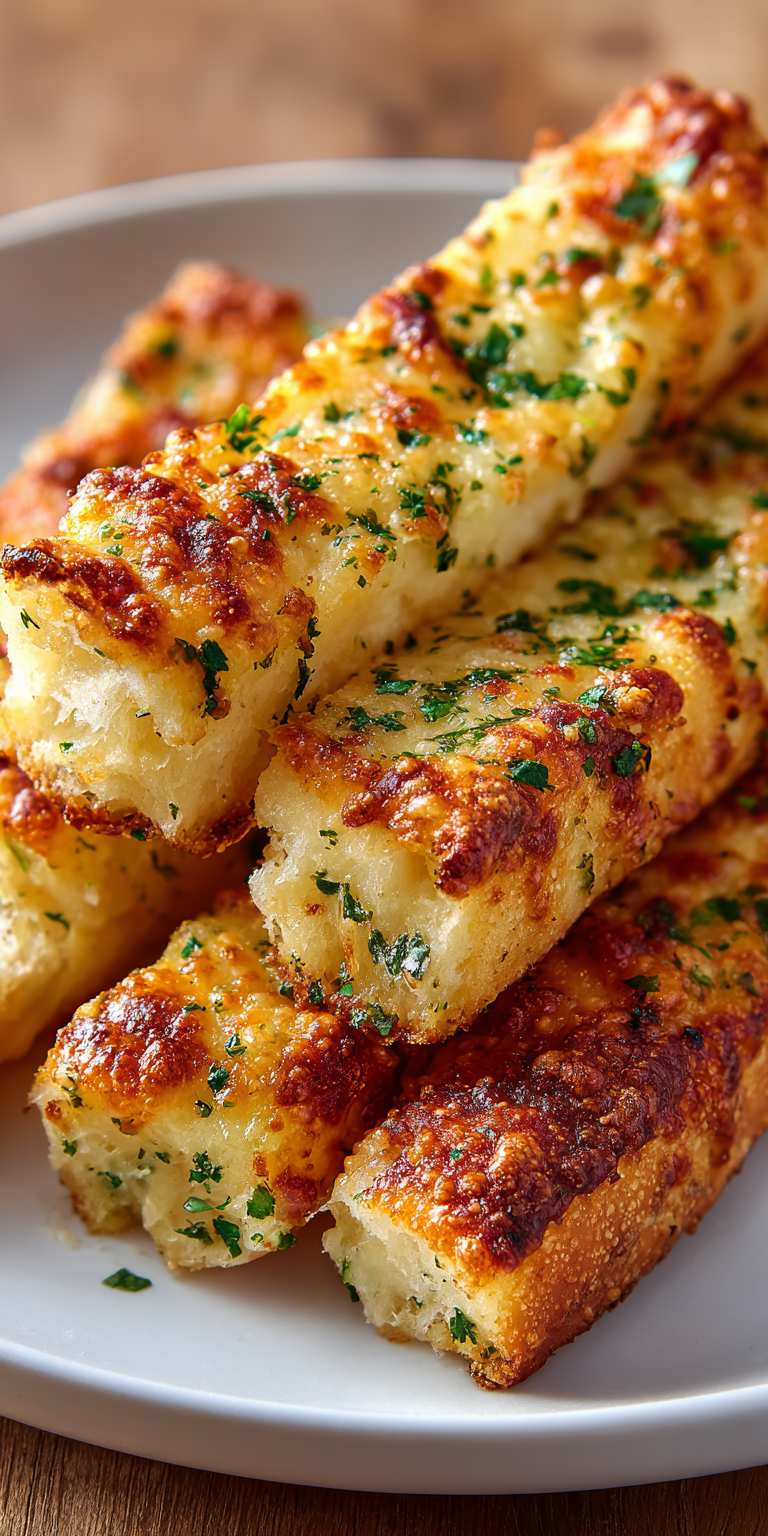
We’re talking about golden, cheesy sticks that are soft on the inside with a beautiful pull. They are a crowd-pleaser for everyone, whether they follow a keto lifestyle or not. Let me show you how simple entertaining can be.
Recipe Overview
Here’s everything you need to know at a quick glance. This is your roadmap to a successful dish.
- Cuisine: Low-Carb / Keto
- Category: Appetizer, Side Dish
- Prep Time: 15 minutes
- Cook Time: 15 minutes
- Total Time: 30 minutes
- Servings: 8 breadsticks
Why This is My Go-To for Guests
I’ve served these at countless gatherings, from casual game nights to more formal dinners. They never, ever fail. The reason is simple: they solve the host’s biggest problems.
First, they come together in about 30 minutes. You are not chained to the oven all evening. Second, the smell of baking garlic and cheese is pure magic. It instantly makes your home feel welcoming. Most importantly, they taste like the real deal.
Your guests will be amazed that something so indulgent is low-carb. It’s that moment of happy surprise that makes hosting so rewarding.
Make-Ahead Magic: My Hosting Secret
This is my favorite part. You can do almost all the work one or two days before your party. This is the key to feeling relaxed when your doorbell rings.
You can mix the dry ingredients and store them in a bowl. Grate your cheese and keep it sealed in the fridge. Mix the garlic butter sauce and let those flavors marry in a jar.
Keto Garlic Breadsticks Recipe
The “Wow Factor” Ingredients
How to Prepare Your Dish (Step-by-Step)
Notes
Enjoy your homemade Keto Garlic Breadsticks Recipe!
When it’s party time, just combine the wet and dry ingredients, shape, and bake. You look like a calm, collected host who simply whipped up something incredible. This same make-ahead principle works wonders for my Keto Garlic Butter Shrimp & Zucchini Noodle Foil Packets, another fantastic dish for easy entertaining.
The “Wow Factor” Ingredients
Simple ingredients create extraordinary results. Each one plays a starring role. Here’s what you’ll need:
- Almond Flour: This is our base. It gives a wonderfully tender crumb that mimics traditional bread.
- Shredded Mozzarella: For that essential stretch and golden-brown top. Pre-shredded works perfectly here.
- Cream Cheese: The secret to richness and holding everything together beautifully.
- An Egg: Our binder. It gives the dough structure and helps it rise a bit.
- Fresh Garlic: Absolutely non-negotiable. The fresh minced kind makes all the difference in flavor.
- Butter & Italian Seasoning: For the glorious garlic butter bath that happens right after baking.
How to Prepare Your Dish (Step-by-Step)
Follow these steps and you really can’t go wrong. I’ve made this so many times, it’s like second nature.
- Preheat and Prep: Heat your oven to 400°F (200°C). Line a baking sheet with parchment paper.
- Make the Dough: In a large microwave-safe bowl, combine the mozzarella and cream cheese. Microwave in 30-second bursts, stirring in between, until completely melted and smooth.
- Combine: Quickly stir the hot cheese mixture with the almond flour, baking powder, and egg. Mix until a uniform dough forms. It will be a bit sticky.
- Shape: With damp hands, divide the dough into 8 equal pieces. Roll each into a log about 6 inches long. Place them on your prepared baking sheet.
- Bake: Bake for 12-15 minutes, until they are puffed and a lovely golden brown.
- Garlic Butter Glaze: While they bake, melt the butter with the minced garlic and Italian seasoning. As soon as the breadsticks come out of the oven, generously brush them with this garlic butter.
How to Serve This Like a Pro
Presentation is the final touch. It takes these from great to unforgettable. I like to keep it simple and elegant.
Transfer the warm breadsticks to a large, beautiful wooden board or a simple white platter. Sprinkle them with a little extra grated Parmesan and some freshly chopped parsley for a pop of color.
Place a small bowl of warm marinara or a creamy keto-friendly dip in the center. Let your guests pull apart their own breadstick. It’s interactive and fun.
Perfect Pairings (What to Drink & Serve With It)
These breadsticks are incredibly versatile. They play well with so many other dishes and drinks.
For a drink, a crisp white wine like Sauvignon Blanc or a light Pinot Noir is fantastic. For a non-alcoholic option, sparkling water with lemon is always refreshing.
Serve them alongside a big, colorful salad for a light lunch. They are also the perfect companion to a bowl of keto-friendly tomato soup or a hearty meatball bake. For a crunchy side, try them with some homemade Keto Crackers. They complete the meal.
Nutrition Notes
Here is a general breakdown per breadstick. This can vary slightly based on your specific ingredient brands.
- Calories: ~180
- Fat: 15g
- Protein: 9g
- Total Carbs: 4g
- Dietary Fiber: 2g
- Net Carbs: 2g
Your Entertaining FAQs
These are the questions I get asked most often. I hope these answers help you feel even more confident.
Can I make these completely ahead and reheat them?
You can! Bake them as directed and let them cool. Store in an airtight container. Reheat in a 350°F oven for 5-7 minutes until warm and crisp again. They taste just-baked.
My dough is too sticky to shape. What did I do wrong?
This is common if the cheese mixture was very hot. Just let it cool for a minute or two. Always use damp hands to shape the dough. It prevents sticking and makes the process smooth.
Can I freeze the unbaked dough for later?
Absolutely. Shape the dough into sticks and freeze them solid on a tray. Then transfer to a freezer bag. Bake from frozen, adding 2-3 extra minutes. It’s like having instant party food on demand.
I hope this recipe becomes your new entertaining staple. It has saved me from last-minute host panic more times than I can count. The joy is in sharing something delicious that you made with ease.
Remember, the best parties are where the host is having fun too. This recipe lets you do just that. You’ve got this.
I’d love to hear how your party went! Did your guests rave about them? Leave a comment and a rating below!