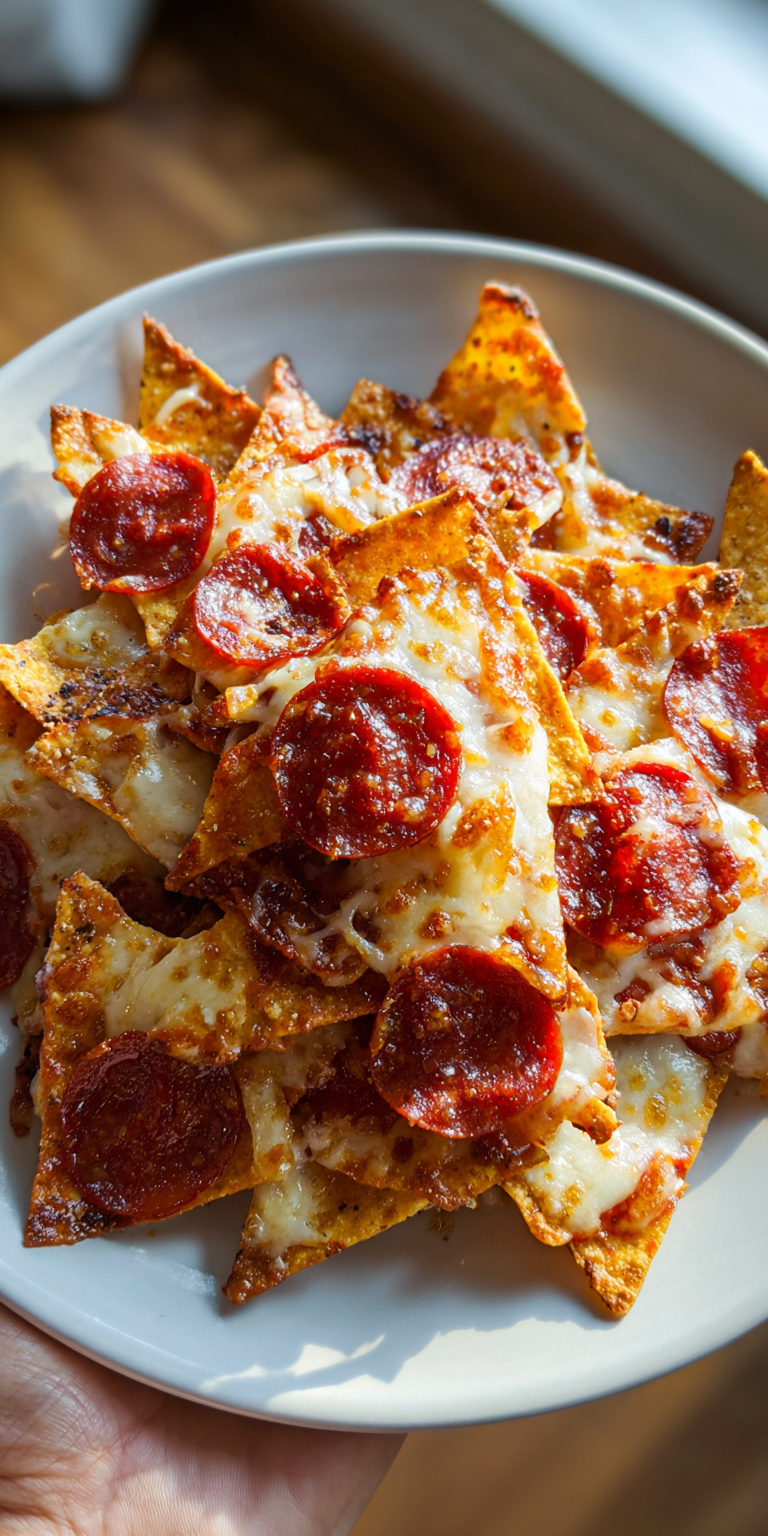
Some recipes just feel like a warm hug. For me, that’s the classic Rice Krispie Cheddar Crackers. It’s a dish that takes me right back to my grandma’s kitchen, where the air was always thick with the smell of something good baking. If you’re looking for another simple, savory snack, you might enjoy these easy homemade keto crackers.
It’s a simple appetizer, but it holds so much memory. The salty, cheesy crunch is pure comfort. I want to share this traditional recipe with you, just as it was meant to be made.
It’s the easiest appetizer you’ll ever put together. With just a few pantry staples, you can create a snack that everyone will love. Let’s make some food history together.
Recipe Overview
- Cuisine: American Comfort Food
- Category: Appetizer
- Prep Time: 10 minutes
- Cook Time: 15 minutes
- Total Time: 25 minutes
- Servings: About 4 dozen crackers
The Story Behind This Classic Recipe
I first tasted these crackers at a church potluck decades ago. A sweet older lady named Mabel brought them, piled high on a simple paper plate. I remember being a kid and grabbing one, then another, completely hooked.
When I asked her for the secret, she just winked and said it was her “special cereal treat.” Later, my own grandma showed me her nearly identical recipe card, stained with butter and love. It was a staple of her bridge club gatherings.
This recipe is a beautiful piece of mid-century American home cooking. It’s from a time when clever cooks used what they had to make something magical. It’s a testament to the power of simple, good food.
What Makes This the *Traditional* Way
You might see modern twists on this idea. But the traditional way is about purity and that specific, nostalgic flavor. We’re not adding fancy herbs or exotic cheeses here.
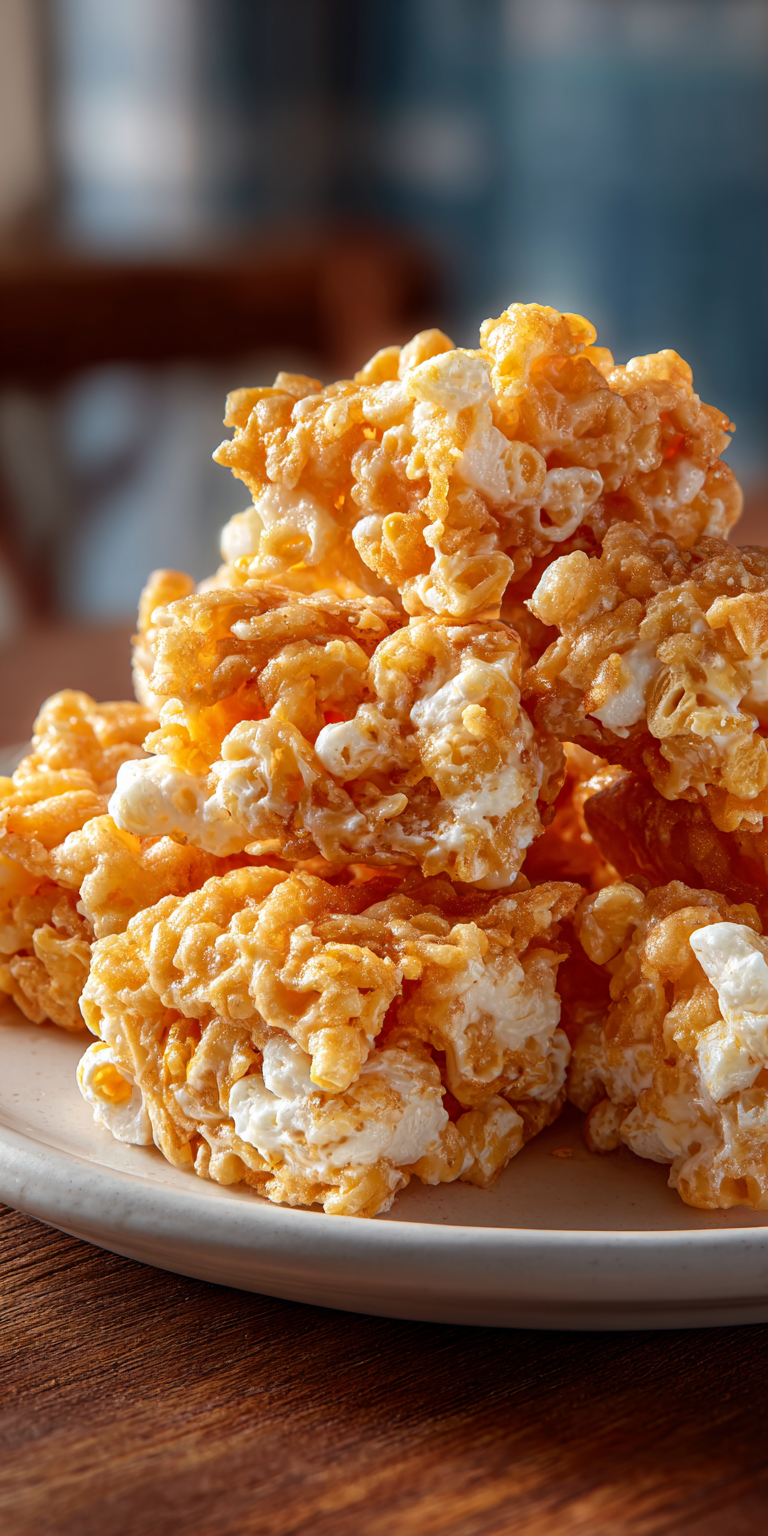
The magic is in the textural contrast. The Rice Krispies stay wonderfully crisp inside the baked cheese, creating a unique melt-in-your-mouth crunch. It’s this combination that makes it so special.
We also use real butter and grate our own cheese. The pre-shredded stuff has coatings that can change the way it melts. For the true, gooey, classic result, a block of cheddar and a box grater are your best friends.
Rice Krispie Cheddar Crackers Recipe
The Classic Ingredients (No Fancy Stuff!)
How to Make It Just Like Grandma Did
Notes
Enjoy your homemade Rice Krispie Cheddar Crackers Recipe!
The Classic Ingredients (No Fancy Stuff!)
Gathering these ingredients is half the joy. They’re humble, honest, and probably already in your kitchen. Let’s keep it simple.
- 2 cups (about 8 oz) sharp cheddar cheese, freshly grated
- 1 cup (2 sticks) unsalted butter, softened to room temperature
- 2 cups all-purpose flour
- 1/4 teaspoon salt (omit if using salted butter)
- 1/4 teaspoon cayenne pepper (just a whisper of heat)
- 2 cups original Rice Krispies cereal
How to Make It Just Like Grandma Did
The method is straightforward, but each step matters. Follow these, and you’ll have perfect crackers every single time.
- First, heat your oven to 350°F (175°C). Line your baking sheets with parchment paper. This makes cleanup a breeze and stops the crackers from sticking.
- In a large mixing bowl, use a hand mixer to cream the softened butter until it’s smooth and pale. This is the base of our dough.
- Add the freshly grated cheddar cheese to the butter. Mix on low speed just until they are combined. You want a marbled, cheesy butter mixture.
- In a separate bowl, whisk together the flour, salt, and cayenne pepper. This makes sure the seasonings are evenly distributed throughout the dough.
- Gradually add the dry ingredients to the butter and cheese mixture. Mix on low until a soft dough just begins to form. Be careful not to overmix.
- Now, gently fold in the Rice Krispies cereal. Use a spatula and a light hand so we don’t crush all the cereal. We want those whole pieces for crunch.
- Roll the dough into small, 1-inch balls. Place them about 2 inches apart on your prepared baking sheets. Then, gently flatten each ball with the tines of a fork in a crisscross pattern.
- Bake for 12-15 minutes, or until the edges are just starting to turn a light golden brown. Let them cool on the baking sheet for 5 minutes before moving them to a wire rack to cool completely.
My Tips for Perfecting This Classic
After making these for years, I’ve learned a few tricks. They’ll help you get that perfect, nostalgic result on your very first try.
First, make sure your butter is truly softened. It should yield to gentle pressure but not be melted or oily. This is the key to success for a tender, flaky cracker.
Second, don’t skip the chilling if your kitchen is warm. If the dough feels too soft after mixing, pop it in the fridge for 20 minutes. This makes rolling the balls much easier and helps the crackers hold their shape.
Finally, let them cool completely on the rack. I know it’s hard to wait! But this is when they achieve their final, perfect crispness. The wait is always worth it.
How to Store and Enjoy Later
These crackers store beautifully, which makes them a fantastic make-ahead appetizer. Once completely cooled, transfer them to an airtight container.
They will stay crisp and delicious at room temperature for up to 5 days. You can also freeze the baked crackers for up to 2 months. Just thaw at room temperature.
For the best experience, serve them at room temperature. They pair wonderfully with a simple bowl of tomato soup or a crisp, cold glass of iced tea. If you need a heartier meal to go with them, try this easy one-pan honey BBQ chicken and rice.
Nutrition Notes
This is a treat, through and through. I believe in enjoying classic comfort food in moderation, and knowing what’s in it.
- This is an estimate per cracker.
- Calories: ~70
- Fat: 5g
- Carbohydrates: 5g
- Protein: 2g
Your Questions About This Classic Recipe
Over the years, I’ve gotten a few common questions about this recipe. Here are the answers to help you on your way.
Can I use pre-shredded cheese?
You can, but I really recommend grating your own. Pre-shredded cheese has anti-caking agents that can make the dough a bit drier and affect the melt. For the best texture and flavor, a block of cheddar is the way to go.
My dough is crumbly. What did I do wrong?
This usually means the butter wasn’t soft enough. Next time, let it sit out longer. For now, you can try kneading the dough with your hands for a minute. The warmth from your hands can help bring it together.
Can I make the dough ahead of time?
Absolutely! You can prepare the dough, wrap it tightly in plastic, and keep it in the refrigerator for up to 2 days. Let it sit at room temperature for about 15 minutes before rolling and baking.
I hope this recipe brings a little bit of that old-fashioned comfort to your table. It’s a reminder that the best foods are often the simplest ones, made with love and shared with good company. For another comforting classic that’s perfect for breakfast or dinner, you have to try this hearty ground beef and potato hash.
There’s something so special about carrying these traditions forward. Every time I make these crackers, I feel connected to my grandma, to Mabel, and to all the home cooks who came before us.
Now, I’d love to hear from you. Did your family have a version of this recipe? What memories does it bring up for you? Please share your stories and your own tips in the comments below. And if you make them, let me know how they turned out!