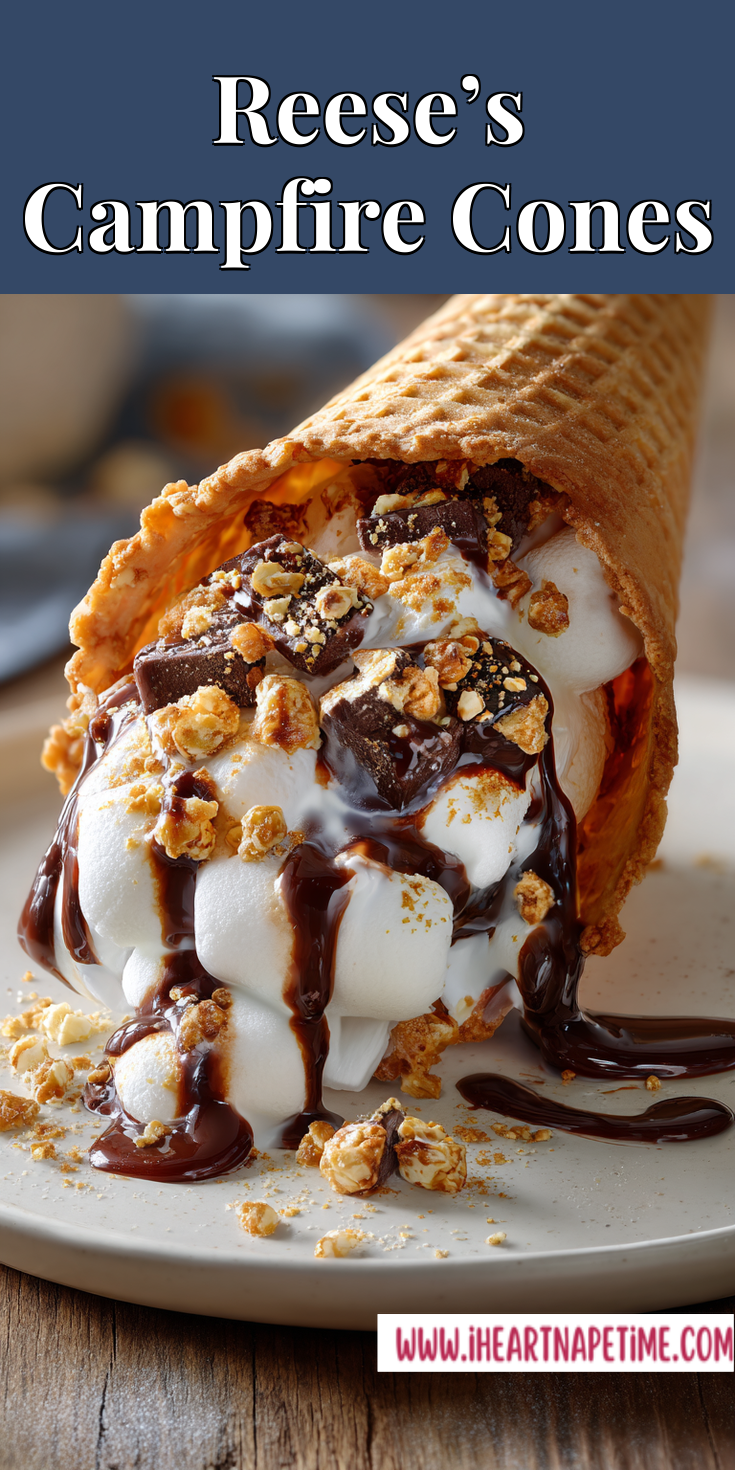
Want a dessert that feels like a decadent treat but costs pennies per serving? I live for these moments. My secret weapon is the Reese’s Campfire Cones. It’s the kind of easy dessert that makes everyone think you’re a genius, without the fancy price tag. It’s perfect when you want something sweet and handheld, much like our favorite Caramel Apple Puppy Chow.
You don’t need expensive ingredients to eat well, or in this case, to have an amazing treat. This recipe is all about smart, simple swaps and using what you have. It’s a quick dessert that comes together in minutes and delivers maximum joy.
We’re talking about a handheld, gooey, chocolate-peanut butter masterpiece. It’s perfect for a weeknight surprise, a last-minute gathering, or even a fun camping trip. Let’s get into how you can make this magic happen without breaking your grocery budget.
Recipe Overview
Here’s the quick snapshot of what we’re making today. It’s incredibly straightforward.
- Cuisine: American
- Category: Dessert
- Prep Time: 5 minutes
- Cook Time: 5-10 minutes
- Total Time: 10-15 minutes
- Servings: 4 cones
Why This Recipe Saves You Money
I build my entire blog on recipes like this. The savings here are real and they add up fast.
First, the ingredients are pantry and freezer staples. Sugar cones are cheap and have a long shelf life. Mini marshmallows and chocolate chips are the same. You buy them once and they’re ready for countless treats.
Second, there’s no special equipment needed. You likely already have aluminum foil and a baking sheet. You can even cook these over a real campfire or a grill. That means no single-use gadget hiding in your drawer.
Finally, it controls portions perfectly. You make exactly what you need. This stops you from overspending on a giant bakery cake that goes half-eaten. Each cone is a personal, perfectly portioned delight.
My Tips for Smart Shopping on a Budget
I’ve learned a few tricks over the years that make my grocery trips more effective. They work for this recipe and everything else.
Reese’s Campfire Cones Recipe
The Budget-Friendly Ingredient List
How to Make It (Step-by-Step)
Notes
Enjoy your homemade Reese’s Campfire Cones Recipe!
Buy chocolate chips in bulk bags. The per-ounce cost is always lower. Store them in a sealed container in a cool, dark place. They’ll last for months.
Check the baking aisle for store-brand mini marshmallows. They are almost always identical to the name brand for a fraction of the cost. The same goes for peanut butter cups.
Don’t sleep on the generic sugar cones. The flavor is exactly the same. This is one area where the brand name truly doesn’t matter for the final result.
The Budget-Friendly Ingredient List
Here’s everything you need. I bet you have half of it already.
- 4 regular sugar ice cream cones
- 1/2 cup mini marshmallows
- 1/2 cup milk chocolate chips
- 4 fun-size or 2 regular Reese’s Peanut Butter Cups, chopped
- Optional: Crushed peanuts or a drizzle of extra peanut butter
How to Make It (Step-by-Step)
This process is foolproof. It’s the ultimate quick dessert project, even with kids helping.
- Start by preheating your oven to 350°F (175°C). Line a baking sheet with aluminum foil for super easy cleanup.
- Stand your sugar cones upright on the baking sheet. If they are wobbly, you can nestle them into the cups of a muffin tin for support.
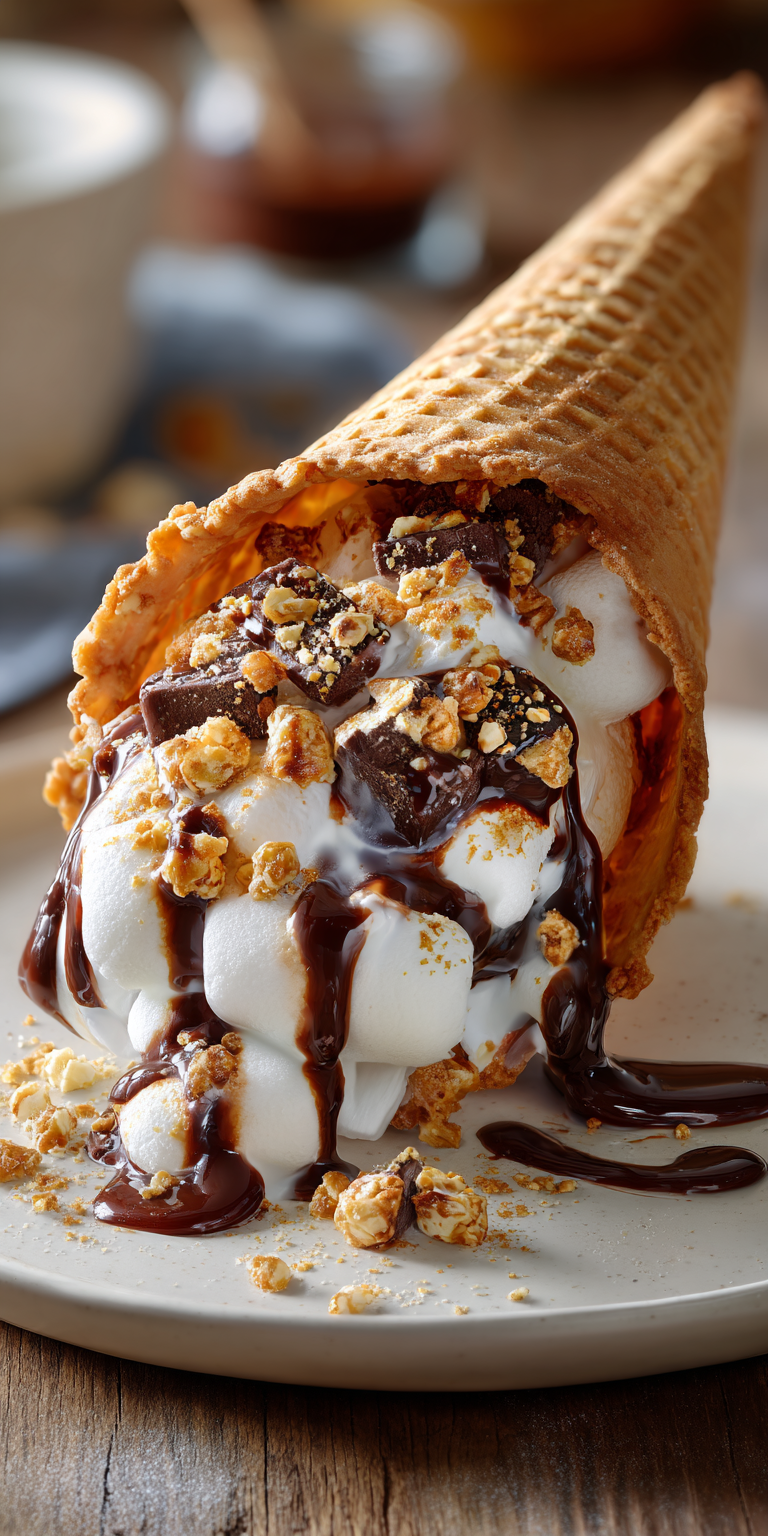
- Fill each cone with layers of goodies. I do a base of chocolate chips, then marshmallows, then the chopped Reese’s. Pack it in, but don’t overfill.
- Loosely tent a small piece of foil over the top of each cone. This stops the marshmallows from burning and helps everything melt together beautifully.
- Bake for 5-10 minutes. You want the marshmallows and chocolate to be perfectly melted and gooey. Keep a close eye after the 5-minute mark.
- Carefully remove from the oven. Let them cool for just a minute or two—they will be very hot. Then, dig into your warm, melty, incredible creation.
How to Use Up Every Last Bit (No Waste!)
I hate throwing food away. Here’s how to make sure every bit of these ingredients gets used.
Have extra mini marshmallows? Toss them into hot cocoa or use them to make a small batch of rice crispy treats. You can also freeze them for later use.
Leftover chocolate chips are a baker’s best friend. Use them in muffins, pancakes, or my favorite Keto Garlic Breadsticks recipe for a sweet contrast. Just kidding on that last one—save them for cookies!
If your sugar cones get stale or break, don’t toss them. Crush them up and use them as a crunchy topping for yogurt or ice cream. It’s a fantastic texture booster. This “no waste” philosophy is key in hearty meals, too, like my Grandma’s Classic Potato Soup.
Nutrition Notes
This is a treat, so let’s be real about it. Enjoy it mindfully. Here’s a rough breakdown per cone.
- Calories: ~250-300
- Fat: 12-15g
- Carbohydrates: 35-40g
- Sugar: 25-30g
- Protein: 3-4g
These numbers can change based on your specific brands and optional add-ons. The key is to savor it as an occasional, special dessert.
Common Questions About This Recipe
I get asked these questions all the time. Here are my practical answers.
Can I make these ahead of time?
You can assemble them ahead of time, but I don’t recommend baking them in advance. The cones will get soggy. Assemble them on the baking sheet and pop them in the oven right before you want to serve. That’s when they are at their absolute best.
What if I don’t have Reese’s cups?
No problem! This is where you get creative. Use any chopped candy bar you have—Snickers, Milky Way, or even just extra chocolate chips and a spoonful of peanut butter. The recipe is very forgiving. Use what’s in your pantry.
Can I cook these on a grill or campfire?
Absolutely. That’s the classic “campfire” method! Wrap each assembled cone tightly in heavy-duty foil. Place them on a grill grate over medium heat or in the coals of a campfire for 5-10 minutes. The result is just as magical, with a fun smoky hint.
See? Making incredible food doesn’t require a fancy degree or a fat wallet. It just needs a little know-how and a willingness to try something simple. This recipe proves that a few basic ingredients can create pure happiness, whether you’re making a sweet treat or a comforting dinner like this Easy Ground Beef & Potato Shepherd’s Pie.
It’s the opposite of complicated, yet it always gets the biggest smiles. That’s my kind of cooking. I hope this becomes your new go-to for a fast, affordable, and crowd-pleasing sweet treat.
Let me know your own money-saving twists on this recipe in the comments below! Did you try a different candy? How did it turn out? Please leave a rating!