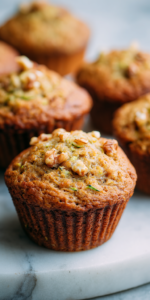
You’ve made red velvet cookies before. I know you have. But you’ve never made them like this. There’s a secret hiding in this recipe that changes everything. If you love a good baking secret, you’ll appreciate the trick in our Bakery-Style Banana Chocolate Chip Muffins too.
It takes those classic Red Velvet Chocolate Chip Cookies from good to legendary. It gives them a texture and flavor that will make people ask for your secret. Ready to find out what it is?
We’re moving beyond simple cake mix hacks today. This is the from-scratch method that gives you real control. I’ll show you how to get that perfect cocoa hint and stunning color, making these the ultimate valentine dessert or festive cookies for any occasion.
Recipe Overview
Here’s the quick look at what we’re making. This is your roadmap to the best cookies of your life.
- Cuisine: American
- Category: Dessert
- Prep Time: 15 minutes
- Cook Time: 10-12 minutes
- Total Time: 1 hour (includes chilling)
- Servings: 18-20 cookies
The Secret Ingredient That Makes All the Difference
I’ve tested countless versions. The game-changer isn’t more cocoa or more food coloring. It’s one simple thing: cornstarch.
Yes, you read that right. Adding two tablespoons of cornstarch to the dry ingredients is the pro move. It’s my not-so-secret weapon for the perfect cookie texture.
Cornstarch inhibits gluten formation. This gives you a cookie that’s incredibly soft and tender on the inside, with a slight chew. It mimics that classic “velvet” crumb from the cake, but in cookie form. This is how you get that melt-in-your-mouth quality.
Why This Method is Better (My Pro-Tips)
Forget the dry cake mix. Starting from scratch gives you power. You control the flavor depth and the sweetness level perfectly.
My key tip is all about the red food coloring. Use gel, not liquid. Gel coloring gives you that vibrant, festive red without adding extra liquid to the dough. This keeps your cookie texture perfect.
Also, you must chill this dough. For at least 45 minutes. This lets the flour hydrate fully and firms up the fats. The result? A cookie that spreads just enough and bakes up thick, not thin and crispy. For another treat that nails the perfect texture, try our Crumbl Cookies Copycat recipe.
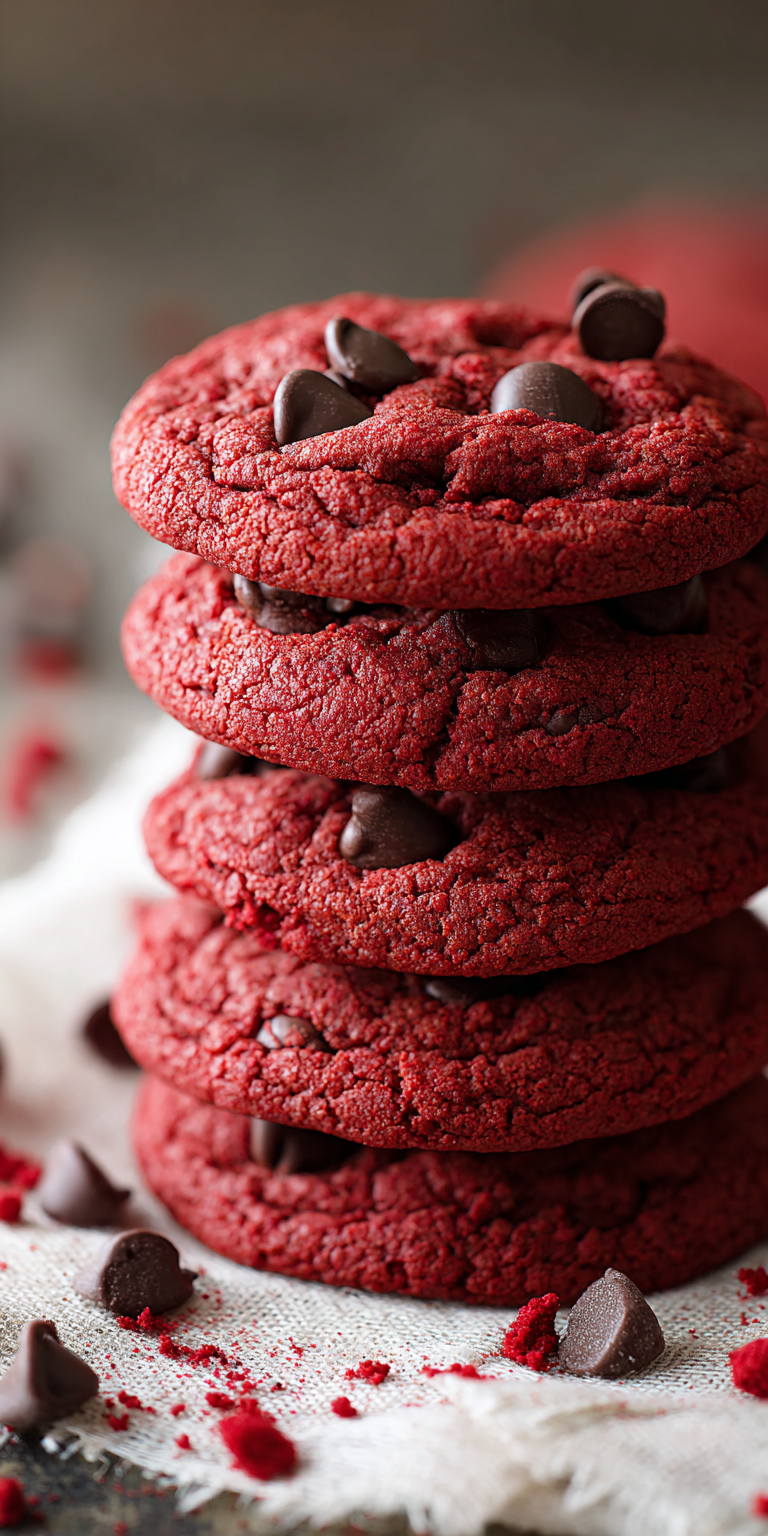
Red Velvet Chocolate Chip Cookies Recipe
The “Upgraded” Ingredient List
The Pro-Method (Step-by-Step)
Notes
Enjoy your homemade Red Velvet Chocolate Chip Cookies Recipe!
The “Upgraded” Ingredient List
Quality matters here. This list is curated for the best possible outcome. Gather these before you start.
- 2 1/4 cups all-purpose flour
- 2 tbsp cornstarch (the secret!)
- 1/4 cup natural cocoa powder (for that pure cocoa hint)
- 1 tsp baking soda
- 1 tsp fine sea salt
- 1 cup unsalted butter, room temperature
- 1 1/4 cups packed light brown sugar
- 1/4 cup granulated sugar
- 2 large eggs, room temperature
- 1 tbsp pure vanilla extract
- 1-2 tbsp red gel food coloring
- 2 cups semi-sweet chocolate chips
The Pro-Method (Step-by-Step)
Follow these steps in order. Precision here leads to perfection in the end.
- Whisk the dry goods. In a medium bowl, whisk together the flour, cornstarch, cocoa powder, baking soda, and salt. Set this aside.
- Cream the butter and sugars. In a large bowl, use a mixer to beat the butter and both sugars for 3-4 minutes. It should be light, fluffy, and pale. This step builds the cookie’s structure.
- Add the wet ingredients. Beat in the eggs, one at a time, mixing fully after each. Then beat in the vanilla and the red gel food coloring. Mix until the color is completely uniform and vibrant.
- Combine carefully. With the mixer on low, gradually add the dry ingredient mixture. Mix just until no flour streaks remain. Overmixing is the enemy of a tender cookie.
- Fold in the chips. Use a spatula to gently fold in the chocolate chips until they’re evenly distributed.
- Chill the dough. Cover the bowl and refrigerate for at least 45 minutes. This is non-negotiable for the right texture.
- Bake. Preheat your oven to 375°F. Scoop 2-tablespoon portions of dough onto parchment-lined baking sheets, spacing them 2 inches apart. Bake for 10-12 minutes. The edges will be set, but the centers will look soft.
- Cool properly. Let the cookies cool on the baking sheet for 5 minutes. Then transfer them to a wire rack to cool completely. This finishes the cooking process without over-baking.
Common Mistakes & How to Fix Them
Even pros run into issues. Here’s how to solve the big ones before they happen.
Problem: Cookies spread too much and become flat. Fix: Your butter was too warm, or you skipped the chill. Always use room temp butter (cool to the touch) and never skip the fridge time. Also, make sure your baking soda is fresh.
Problem: The red color looks brown or dull. Fix: You used liquid food coloring or not enough gel. Liquid dyes dilute the dough. Invest in a good quality red gel paste for that stunning, festive look.
Problem: The chocolate chips all sink to the bottom. Fix: Toss your chocolate chips in a spoonful of the measured flour before folding them in. This light coating helps them stay suspended throughout the cookie.
Variations for the Adventurous Cook
Mastered the base recipe? Let’s play. These swaps take it to another level.
Swap half the chocolate chips for white chocolate chips. The visual contrast against the red dough is stunning, especially for Valentine’s Day.
Add a teaspoon of instant espresso powder to the dry ingredients. It won’t taste like coffee. It will boost the depth of the chocolate flavor in a magical way.
After baking, sprinkle the warm cookies with a little flaky sea salt. It cuts the sweetness and makes every flavor pop.
Nutrition Notes
Let’s be real, these are a treat. But here’s a general idea per cookie (based on 18 servings).
- Calories: ~280
- Fat: 14g
- Carbohydrates: 36g
- Sugar: 24g
- Protein: 3g
Your Pro-Level Questions Answered
These are the questions I get most from my dedicated home bakers.
Can I make these without the food coloring?
You can, but they’ll be more of a “rustic velvet.” The cocoa will give them a reddish-brown hue, but it won’t be that classic, bold red. The flavor will still be fantastic.
Why natural cocoa powder and not Dutch-process?
This is key. Natural cocoa is acidic. It reacts with the baking soda in our recipe to create lift and that perfect, slightly tangy flavor profile that defines red velvet. Dutch-process cocoa is neutral and won’t give you the same result.
How do I store these to keep them soft?
Once completely cool, store them in an airtight container at room temperature with a piece of plain bread. The cookies will draw moisture from the bread and stay soft for days. It’s an old baker’s trick that works every time.

A Few Final Secrets
You now have the blueprint. But the real magic is in the details you own. The care you put in.
Use a cookie scoop for perfectly even portions. This makes sure every cookie bakes at the same rate. And always bake on parchment paper, not a bare sheet. It prevents sticking and promotes an even bake on the bottom.
Remember, the cornstarch is your friend. It’s the quiet hero that delivers that unforgettable texture. Now you have the knowledge I use in my own kitchen every time.
Your turn. I want to hear how your batch turns out. Did the cornstarch trick change the game for you? What variation did you try? Share your results and rate this recipe in the comments below. Let’s bake better, together. And if you’re looking for a rich, chocolatey dessert that’s a bit lighter, you must try this rich and creamy high-protein chocolate pudding.