Does the phrase “family dinner” make you think of a chorus of “eww” and “I don’t like that”? I feel you. We’ve all been there, staring into the fridge, hoping for a miracle that pleases everyone.
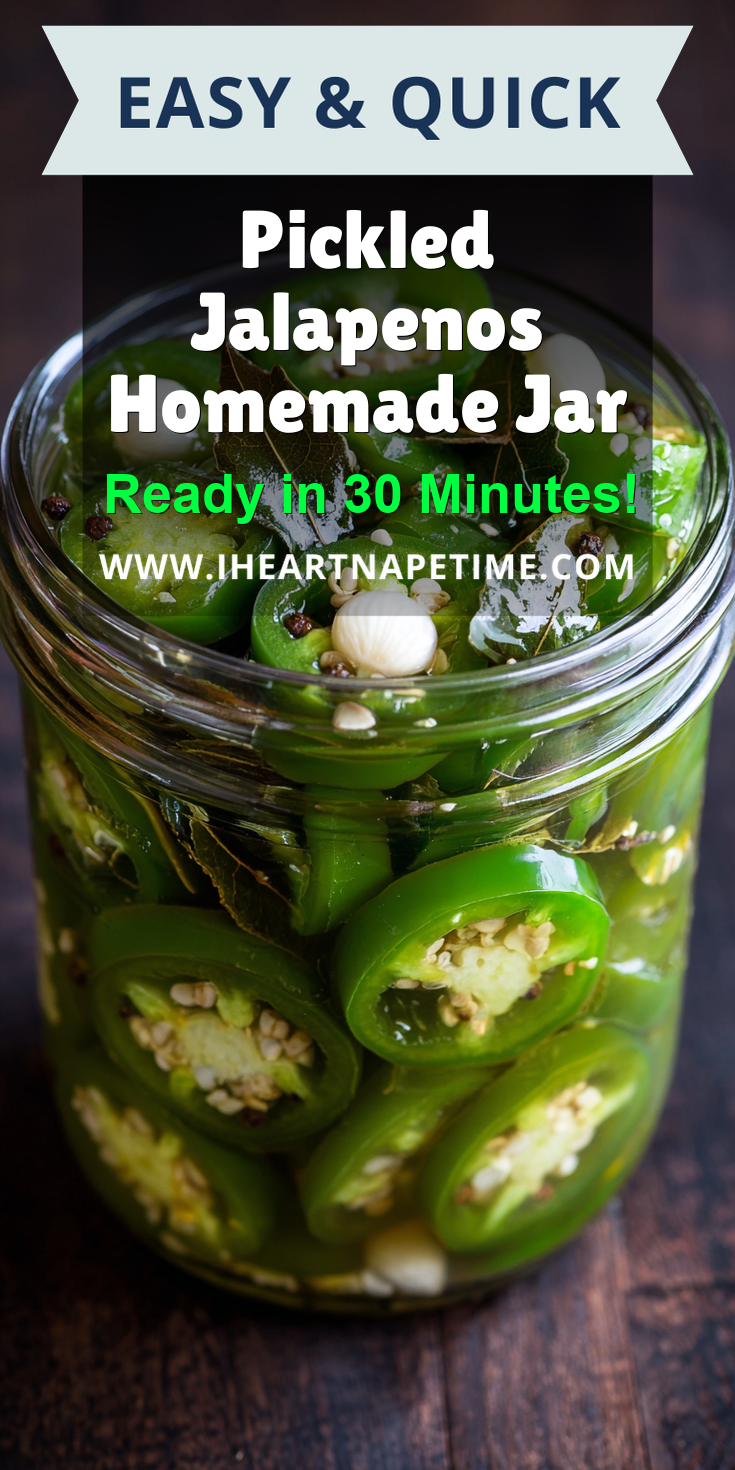
What if I told you there’s a secret weapon? It’s a Pickled Jalapenos Homemade Jar. Now, before you panic about spice, hear me out. This isn’t about setting mouths on fire. It’s about a crunchy, tangy, slightly sweet topping that can totally change a meal. It’s a fantastic homemade snack or condiment to have on hand.
Think of it as a magic trick for burgers, tacos, and even mac and cheese. Making a batch is a fantastic way to use up a garden harvest, and it’s one of those easy canning recipes that feels so rewarding. Let’s make dinner fun again!
Recipe Overview
- Cuisine: American/Mexican-Inspired
- Category: Condiment, Preserve
- Prep Time: 15 minutes
- Cook Time: 5 minutes
- Total Time: 20 minutes (plus cooling)
- Servings: Makes about 2 pint jars
Why Even My Picky Eaters Love This!
I know, “jalapeno” sounds intense. But pickling totally changes the game. The vinegar and sugar soften the heat and add a bright, familiar tang that kids often enjoy on things like pickles.
The key is control. When you make these at home, you decide how spicy they are. You can remove ALL the seeds and ribs for a super mild version. It becomes more about crunch and flavor than heat.
Plus, letting them add their own toppings gives them power. A “build-your-own-burger” night with these as an option is a guaranteed hit in our house.
Our Family-Friendly Ingredient List
This list is short and sweet. You probably have most of it in your pantry right now!
- 1 pound fresh jalapeños (about 10-12 peppers)
- 1 ½ cups white vinegar
- 1 ½ cups water
- 2 tablespoons granulated sugar
- 1 tablespoon kosher salt
- 4 cloves garlic, peeled and lightly smashed
- 1 teaspoon whole black peppercorns
- 1 teaspoon mustard seeds (optional, but nice)
How to Get the Kids Involved in Cooking This
My kids love feeling like little kitchen scientists. This recipe is perfect for that! If you’re looking for other great recipes to make with kids, try these homemade yogurt melts for a healthy, no-cook treat.
For younger helpers: They can be in charge of measuring the water, vinegar, sugar, and salt. It’s great for practicing those math skills.
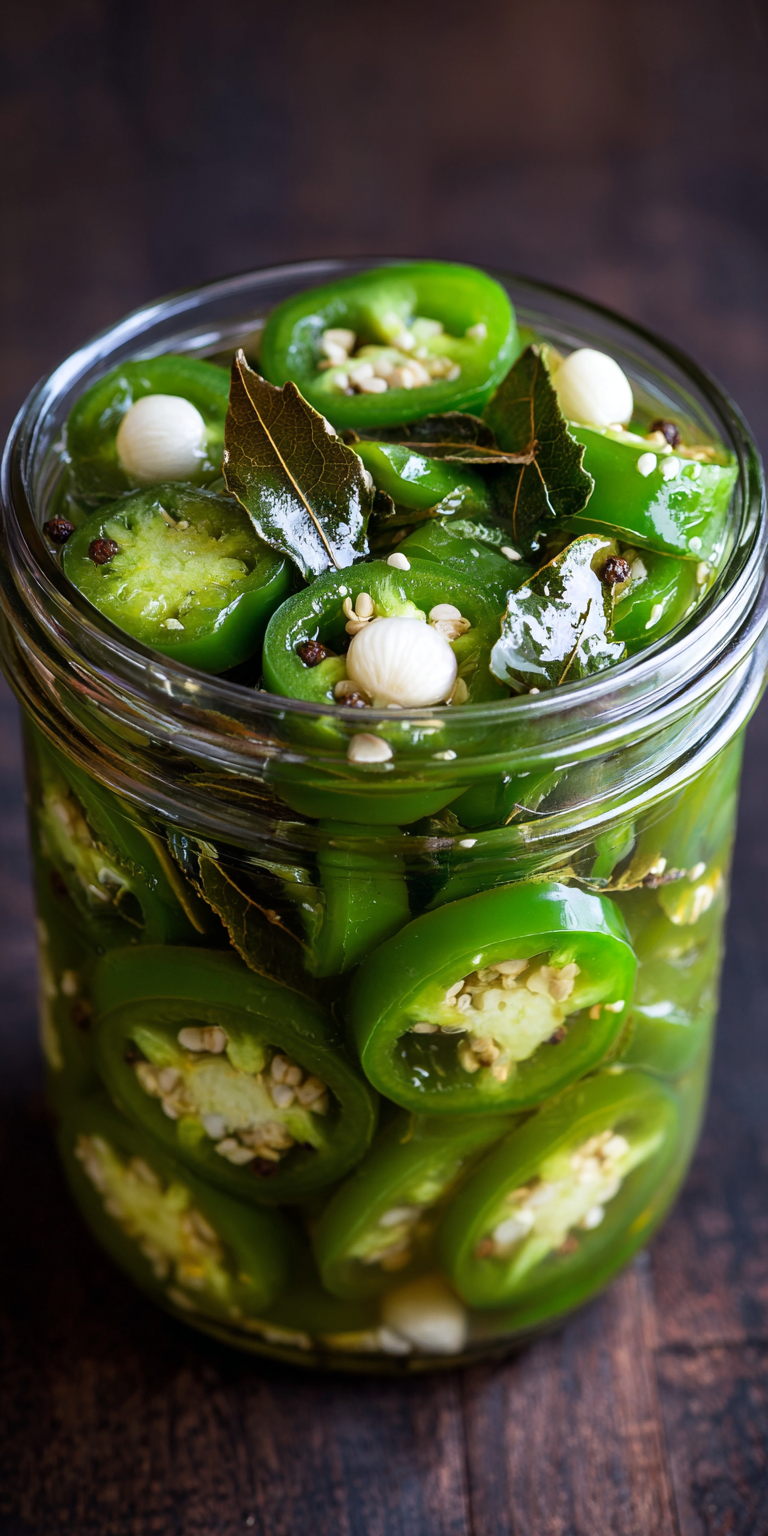
Pickled Jalapenos Homemade Jar Recipe

Our Family-Friendly Ingredient List
The Full Step-by-Step Instructions
Notes
Enjoy your homemade Pickled Jalapenos Homemade Jar Recipe!
Nutrition Information
For older, careful kids: Wearing disposable gloves, they can help slice the jalapeños with a kid-safe knife (with you right there, of course). They can also drop the garlic cloves and peppercorns into the jars.
The Full Step-by-Step Instructions
Don’t let the canning part scare you. This is a simple “water bath” method, and I’ll walk you through it.
- First, get your canning gear ready. Wash two pint-sized jars, lids, and rings in hot soapy water. Keep the jars hot by leaving them in a pot of simmering water or a clean dishwasher.
- Put on some disposable gloves. Slice the jalapeños into ¼-inch thick rounds. For a milder pickle, scrape out the seeds and white ribs with a small spoon.
- In a medium saucepan, combine the vinegar, water, sugar, and salt. Bring it to a boil over medium-high heat, stirring until the sugar and salt dissolve. This is your pickling brine.
- Carefully remove the hot jars from the water. Divide the garlic cloves, peppercorns, and mustard seeds between the jars.
- Pack the sliced jalapeños tightly into the jars, leaving about ½ inch of space at the top.
- Slowly pour the hot brine over the peppers in each jar, maintaining that ½-inch headspace. Use a chopstick to release any air bubbles.
- Wipe the jar rims clean with a damp cloth. Place the lids on, and screw on the rings until they are just “fingertip tight” (don’t crank them super hard).
- Process the jars in a boiling water bath for 10 minutes. Use a jar lifter to remove them and place them on a towel-lined counter. You’ll hear a wonderful “pop” as they seal while cooling!
- Let the jars cool completely for 12-24 hours. Check the seals by pressing the center of the lid. If it doesn’t pop, it’s sealed! Store in a cool, dark place.
Fun Twists for Different Tastes
This recipe is a fantastic base. You can tweak it to match your family’s mood.
Sweet & Mild: Add a few slices of carrot or onion to the jar. You can also up the sugar to ¼ cup for a sweeter brine that kids adore.
Extra Flavor for Grown-Ups: Add a sprig of fresh dill or a pinch of cumin seeds to your jar. It makes a world of difference on burger toppings for adult plates.
Quick Fridge Pickles: Not ready to can? Simply make the brine, pour it over the peppers in a clean container, let it cool, and store it in the fridge. They’ll be ready in 24 hours and keep for a few weeks.
Storing & Reheating (Perfect for Busy Nights)
Once sealed, your jars are shelf-stable for up to a year. Once opened, keep them in the fridge.
There’s no reheating needed! That’s the beauty of spicy condiments and sandwich fixings like this. You just pull the jar from the fridge and add a cool, crunchy punch to any meal instantly. They’re the perfect salty, tangy counterpart to other homemade snacks like these crispy homemade potato chips.
Nutrition Notes
- Low in calories and fat.
- Provides a small amount of Vitamin C.
- Contains probiotics from the fermentation process, which are great for gut health.
- Remember, the sodium is mostly in the brine, so you’re not consuming all of it when you just eat the peppers.
FREQUENTLY ASKED QUESTIONS
How long until the pickled jalapeños are ready to eat?
For the best flavor, let them sit for at least one week after canning. This gives the peppers time to really soak up all the tangy, garlicky brine flavors. If you made fridge pickles, 24-48 hours is enough.
My kids are really sensitive to spice. Can I make these truly mild?
Absolutely! The heat lives in the seeds and white ribs. Take the extra minute to scrape every bit of that out with a spoon while wearing gloves. Using milder peppers like poblano or banana peppers for half the batch is another great trick.
Do I need special equipment to can these?
You need a large, deep pot with a rack (or a folded towel at the bottom) to keep the jars from touching the pot. A jar lifter is very helpful for safety. A canning funnel makes filling the jars clean and easy. These are a small investment for years of homemade goodness.
I really hope this recipe brings some zing and zero stress to your table. It’s one of those projects that feels like a big win—you preserved food, you made something delicious, and you found a new way to jazz up weeknight dinners.
Seeing a jar you made yourself on the table is so satisfying. It turns simple hot dogs or grilled chicken into something special. And who knows? You might just have a pickle-loving kid on your hands.
I’d love to know if this was a hit with your family! Did your kids try them? What did you put them on? Please leave a comment and rating below!