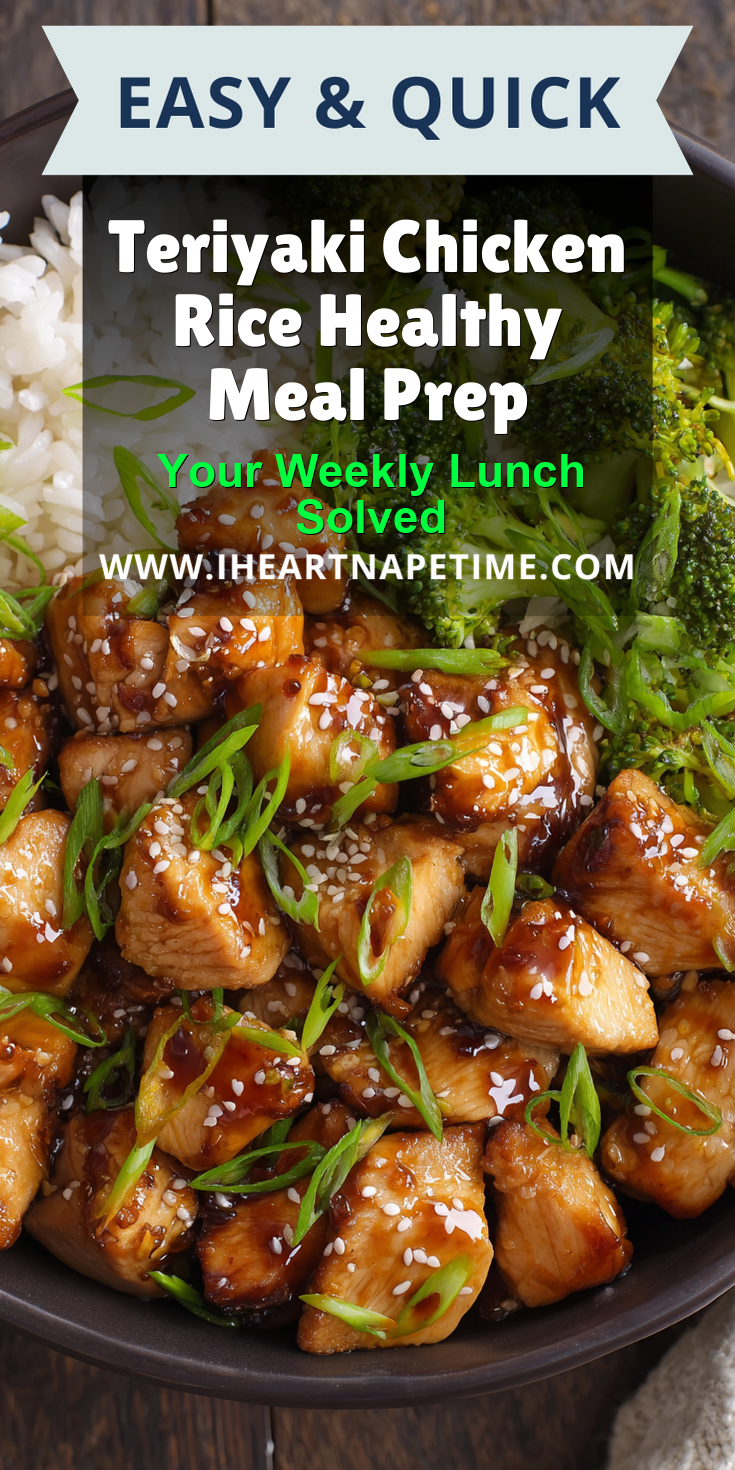
You’ve made teriyaki chicken before. You’ve probably even done a Teriyaki Chicken Rice Healthy Meal Prep for the week. But I promise, you’ve never made it like this. The difference isn’t in the chicken or the rice. It’s in one quiet, powerful step that most people skip, much like the simple magic of a one-pan honey BBQ chicken and rice dish.
Ready to find out what it is? This is the method that turns a good lunch into a crave-worthy one, even on Thursday.
Recipe Overview
Here’s the quick look at what we’re building today.
- Cuisine: Japanese-Inspired
- Category: Healthy Meal Prep
- Prep Time: 15 minutes
- Cook Time: 25 minutes
- Total Time: 40 minutes
- Servings: 4 meal prep portions
The Secret Ingredient That Makes All the Difference
I’ve tested this for years. The secret isn’t an ingredient you buy. It’s an ingredient you make.
It’s a double-layer sauce. Most recipes have you simmer everything together once. We’re doing it twice. First, we make a concentrated, glossy glaze for the chicken. Second, we reserve a fresh, bright batch to drizzle over the rice in our containers.
This keeps the chicken’s crust perfect and gives the rice a hit of pure, uncooked flavor. It’s the pro move.
Why This Method is Better (My Pro-Tips)
My way fixes the two biggest meal prep problems: soggy chicken and bland rice.
By searing the chicken thighs hard and glazing them only at the end, you get a caramelized crust. You also cook the sauce in two parts. The first batch reduces into a sticky coat for the chicken. The second stays saucy for the rice.
This means every component stays true to itself until you’re ready to eat.
Teriyaki Chicken Rice Healthy Meal Prep Recipe
The “Upgraded” Ingredient List
The Pro-Method (Step-by-Step)
Notes
Enjoy your homemade Teriyaki Chicken Rice Healthy Meal Prep Recipe!
The “Upgraded” Ingredient List
These are the simple, powerful items you need. Quality here pays off.
- 1.5 lbs boneless, skinless chicken thighs
- 1 tbsp neutral oil (like avocado or grapeseed)
- Salt and black pepper
- 1 cup white or brown jasmine rice
- 4 cups broccoli florets
- 2 tsp toasted sesame seeds
- 2 green onions, thinly sliced
- For the Double Sauce:
- 1/2 cup low-sodium soy sauce or tamari
- 1/3 cup honey or maple syrup
- 2 tbsp rice vinegar
- 2 cloves garlic, grated
- 1 tbsp fresh ginger, grated
- 1 tsp toasted sesame oil
- 2 tsp cornstarch mixed with 1 tbsp cold water
The Pro-Method (Step-by-Step)
Follow these steps in order. The timing is everything.
- Cook your rice according to package directions. Fluff it and let it cool slightly.
- While the rice cooks, make the full batch of sauce. In a bowl, mix soy sauce, honey, rice vinegar, garlic, ginger, and sesame oil. Whisk well. Pour half of this mixture into a separate bowl and set it aside. This is your fresh drizzle.
- To the remaining half in the first bowl, add the cornstarch slurry. This is your cooking glaze.
- Pat the chicken thighs very dry. Season them generously with salt and pepper. Heat the oil in a large skillet over medium-high heat until it shimmers.
- Add the chicken. Let it sear, untouched, for 5-6 minutes per side until deeply golden and cooked through. Remove the chicken to a plate.
- Pour the cooking glaze (the one with cornstarch) into the hot skillet. It will bubble and thicken immediately. Let it cook for 1 minute until glossy.
- Return the chicken to the skillet. Toss and turn it in the glaze until every piece is beautifully coated. Let it rest for 5 minutes before slicing.
- While the chicken rests, quickly steam or sauté your broccoli until crisp-tender.
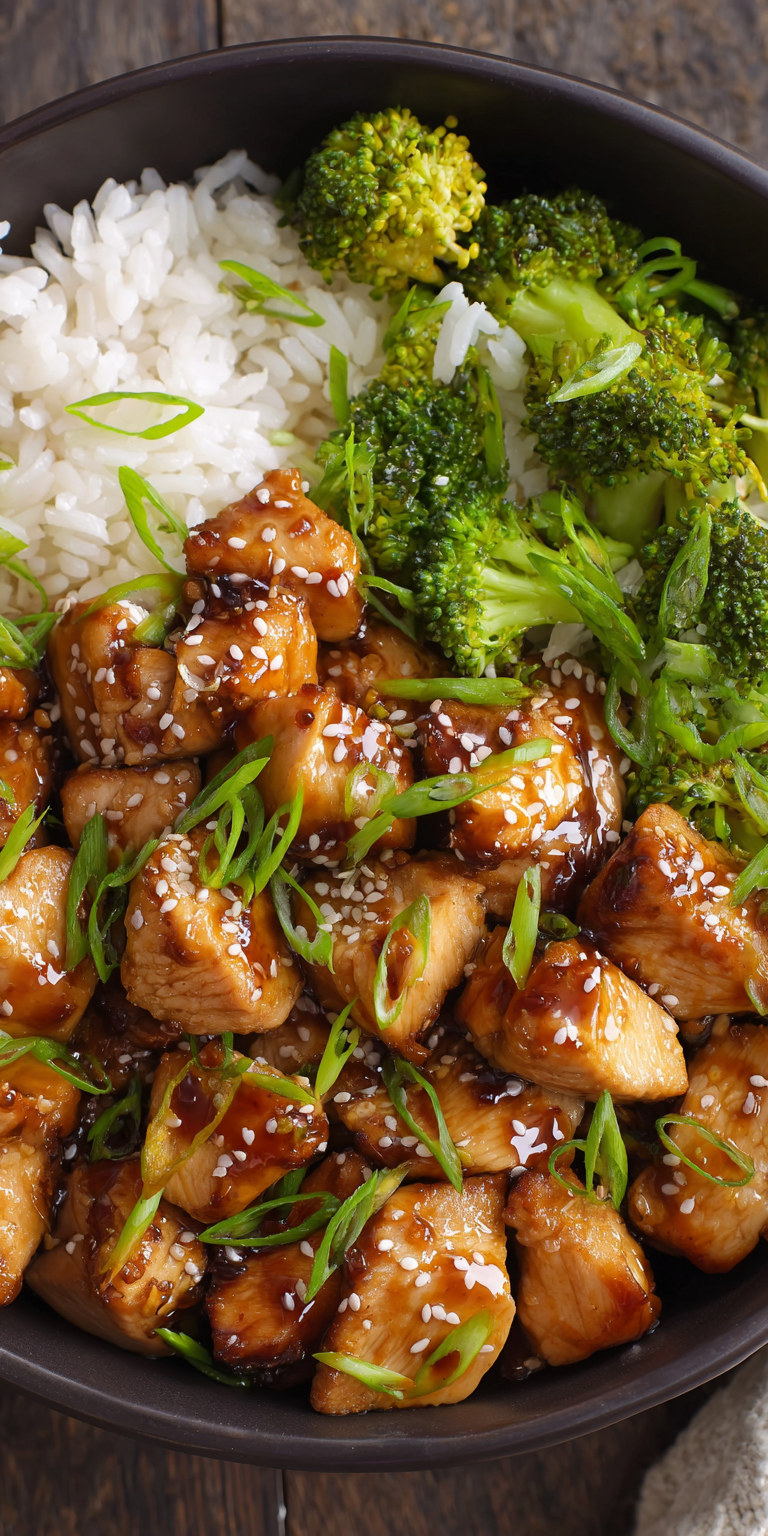
- Build your meal prep containers. Divide the rice, sliced glazed chicken, and broccoli. Drizzle the reserved fresh sauce over the rice in each container. Sprinkle with sesame seeds and green onions.
Common Mistakes & How to Fix Them
Even good cooks trip up here. Let’s avoid that.
Mistake 1: Crowding the pan with chicken. This steams the meat instead of searing it. You lose that crust. Cook in two batches if your pan is small. Give each piece room to breathe.
Mistake 2: Adding the cornstarch to the entire sauce batch. This gives you only thick, cooked sauce. By splitting it, you keep a vibrant, liquid sauce that soaks into the rice perfectly on day three.
Mistake 3: Putting hot food directly into the containers and sealing them. This creates condensation and makes everything wet. Let your components cool to room temperature before you lid them up.
Variations for the Adventurous Cook
Got the base down? Try these pro swaps.
Swap chicken thighs for salmon fillets. Cook the salmon skin-side down first, then glaze. The fat content stands up to the sauce beautifully.
Change the veg. Try snap peas, shredded carrots, or bok choy. Blanch them quickly to keep their snap.
For a different grain, use cauliflower rice or quinoa. Just know they’ll soak up more of the fresh sauce, so you might want to make a little extra.
Nutrition Notes
This is a balanced, satisfying meal. Here’s the rough breakdown per serving.
- Calories: ~550
- Protein: 35g
- Carbohydrates: 65g (varies with rice type)
- Fat: 15g
- Fiber: 4g
Your Pro-Level Questions Answered
These are the questions I get from readers who really want to get it right.
Can I use chicken breasts instead?
You can, but you shouldn’t. Chicken thighs have more fat. This means they stay juicy and tender through the reheating process. Breasts can dry out. If you must, use breasts and cut your cook time by a few minutes.
How long does this meal prep really last in the fridge?
With this method, you get a solid 4 days. The double-sauce trick is key. The fresh sauce on the rice keeps it from drying out. Always use airtight meal prep containers.
What’s the best way to reheat it?
Take the lid off. Sprinkle a few drops of water over the rice. Heat in the microwave for 2-2.5 minutes, stopping halfway to stir. This brings it back to life without making it rubbery.
A Few Final Secrets
This is what separates a home cook from a meal prep master.
Grate your garlic and ginger finely. You want their flavor to melt into the sauce, not bite you in chunks.
Invest in good, compartmentalized containers. They keep the sauce on the rice and the chicken crisp until you mix it.
Toast your sesame seeds in a dry pan for 30 seconds. It wakes up their nutty flavor and adds a serious finish.
Now you have the real secret. This isn’t just about packing lunch. It’s about making a meal you’ll actually look forward to all week. Go try it. Then, come back and tell me in the comments—was it a game-changer for you? I read every one. And if you love this style of easy, flavorful cooking, you have to try my ultimate easy crockpot ranch chicken taco soup next.