I love creating delicious, healthy food for my family. But I absolutely dread the mountain of dishes that often comes after a cooking session.
That’s why I’m obsessed with recipes that deliver maximum flavor with minimal cleanup. Today, I’m sharing one of my all-time favorites: Homemade Yogurt Melts: Melt-in-Your-Mouth Toddler Bliss!
These little bites are a lifesaver for busy parents. They are a guaranteed hit with little ones and require virtually no cleanup, much like our popular garlic butter chicken bites.
Recipe Overview
This is the kind of recipe that makes you feel like a kitchen superhero. It’s incredibly simple and so rewarding.
- Cuisine: Healthy Snacks
- Category: Snack
- Prep Time: 10 minutes
- Cook Time: 2-4 hours (freezing)
- Total Time: 2-4 hours 10 minutes
- Servings: Makes about 60 melts
The Joy of a Virtually No-Mess Recipe
I remember the first time I made these. I was amazed that something so fun and healthy could be so easy to clean up. The magic is in the simplicity.
You essentially use one bowl and one baking sheet. That’s it! No blenders, no food processors, just a few simple tools.
This means you get a fantastic homemade snack without the dreaded sink-full of pots and pans. It’s a true win-win.
What You’ll Need for This Recipe
Gathering your tools is the first step to a stress-free cooking experience. You likely have everything already.
You’ll need a mixing bowl, a baking sheet, and some parchment paper. A piping bag or a simple zip-top bag with the corner snipped off works perfectly.
Homemade Yogurt Melts: Melt-in-Your-Mouth Toddler Bliss! Recipe
My Favorite Ingredients
How to Make These Yummy Melts
Notes
Enjoy your homemade Homemade Yogurt Melts: Melt-in-Your-Mouth Toddler Bliss! Recipe!
My Favorite Ingredients
Using high-quality, simple ingredients is the secret to the best flavor. I love using our local farm’s yogurt.
- 2 cups plain, full-fat Greek yogurt
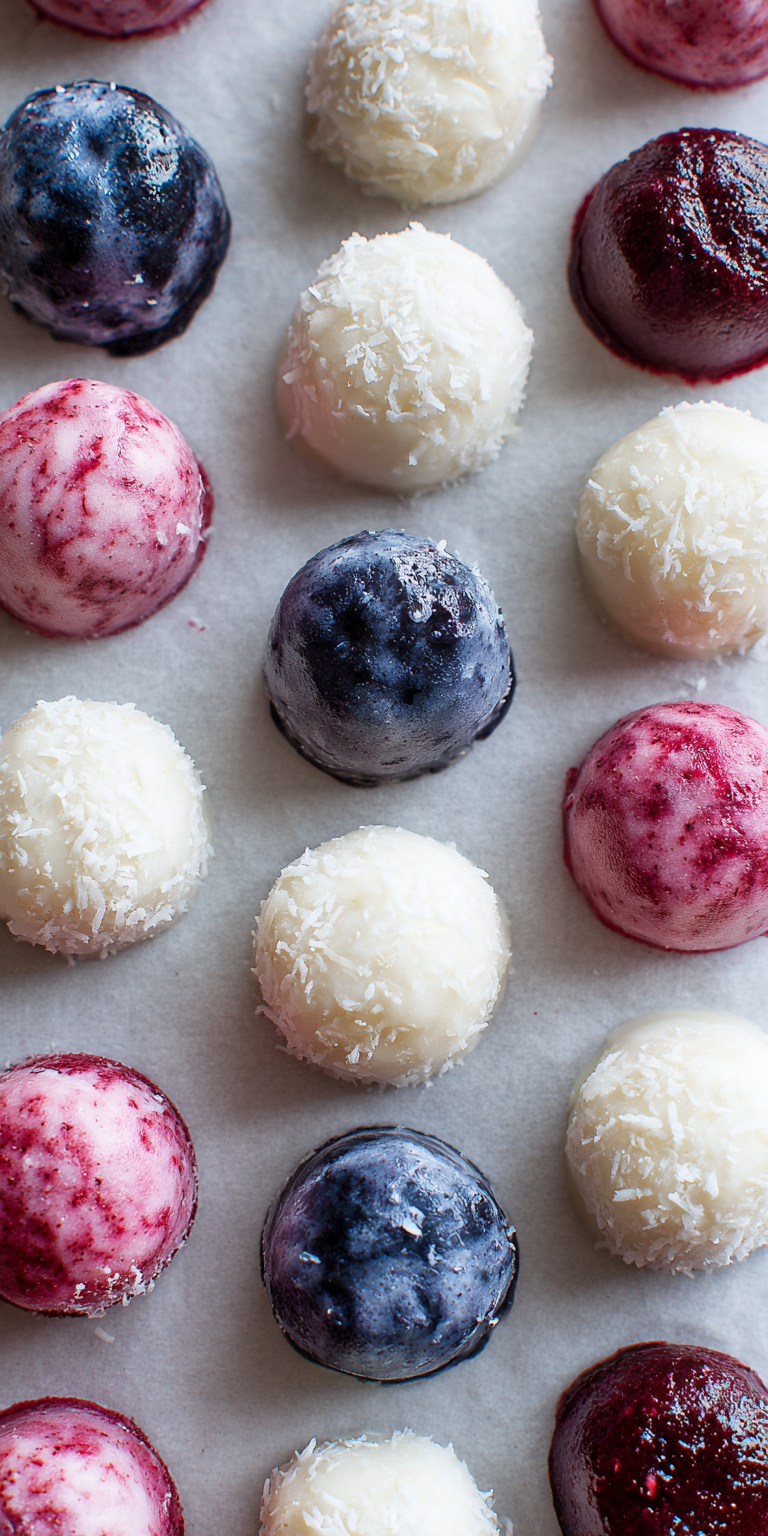
- 2-3 tablespoons fruit puree (like strawberry, blueberry, or mango)
- 1 teaspoon vanilla extract (optional)
- 1 tablespoon maple syrup or honey (optional, for slightly older toddlers)
How to Make These Yummy Melts
Follow these steps, and you’ll have perfect melts every single time. I’ve made this so often I could do it in my sleep!
- Line a baking sheet with parchment paper. This is your non-negotiable step for easy removal and cleanup.
- In your one bowl, combine the Greek yogurt, fruit puree, and vanilla/maple syrup if using. Whisk until everything is smooth and beautifully colored.
- Transfer the mixture to a piping bag or a zip-top bag. Snip a very small corner off the bag.
- Pipe small, dime-sized dots onto the prepared baking sheet. Try to keep them uniform for even freezing.
- Carefully place the baking sheet in the freezer. Let the yogurt melts freeze completely, which usually takes 2-4 hours.
- Once they are solid, pop them off the parchment paper and transfer them to a freezer-safe container or bag for storage.
PREPARATION
This easy preparation method is perfect for busy mornings, just like our hearty tater tot sausage breakfast casserole.
Pro-Tips for Perfect Yogurt Melts
I’ve learned a few tricks after many, many batches. These will help you achieve the best texture and flavor.
Use full-fat yogurt for the creamiest results. The fat content helps them stay soft and melt-in-your-mouth.
Don’t make the dots too big. Smaller dots freeze faster and are the perfect size for tiny hands.
If the mixture is too thin, you can add a tiny bit more yogurt to thicken it up for easier piping.
Storing & Reheating (Easy!)
The best part about these snacks is how well they keep. You can make a big batch and have snacks for weeks.
Keep them stored in an airtight container or a freezer bag. They will last for up to 2 months in the freezer.
There’s no need to reheat! Serve them straight from the freezer. They thaw quickly in little mouths but stay intact in little hands.
Nutrition Notes
As a parent, knowing what’s in your child’s food is so important. That’s the real benefit of making snacks at home.
- Protein-Packed: Greek yogurt provides a great source of protein for growing toddlers.
- Probiotics: Supports a healthy gut and digestive system.
- No Added Sugar: You control the sweetness, allowing you to keep it minimal or use natural options.
- Fruit Goodness: You can sneak in a serving of fruit with the puree.
If you’re looking for another sweet treat that uses fruit, you’ll adore our delicious apple fritter bread.
Your Yogurt Melt Questions, Answered
I get a lot of questions about this recipe from other parents. Here are the most common ones.
Can I use regular yogurt instead of Greek yogurt?
You can, but Greek yogurt is thicker, which gives the melts a better structure. If you use regular yogurt, you might need to strain it a bit first to remove excess liquid.
What are the best fruits to use for the puree?
We love strawberries and blueberries! But you can use any soft fruit. Bananas, peaches, and raspberries all work wonderfully. Get creative with your combinations.
Are these melts suitable for baby-led weaning?
They can be a great dissolvable finger food for older babies who are managing soft solids well. Always supervise your little one during mealtimes.
I hope this recipe brings as much joy to your kitchen as it has to mine. It’s a simple way to provide a healthy, delicious snack that everyone loves.
You get to enjoy all that yummy flavor and the sight of a happy toddler, all while keeping your kitchen clean. It’s the little victories, right?
I’d love to hear about your experience! Let me know how your yogurt melts turned out by leaving a comment and rating below!